Add formulas in datasources

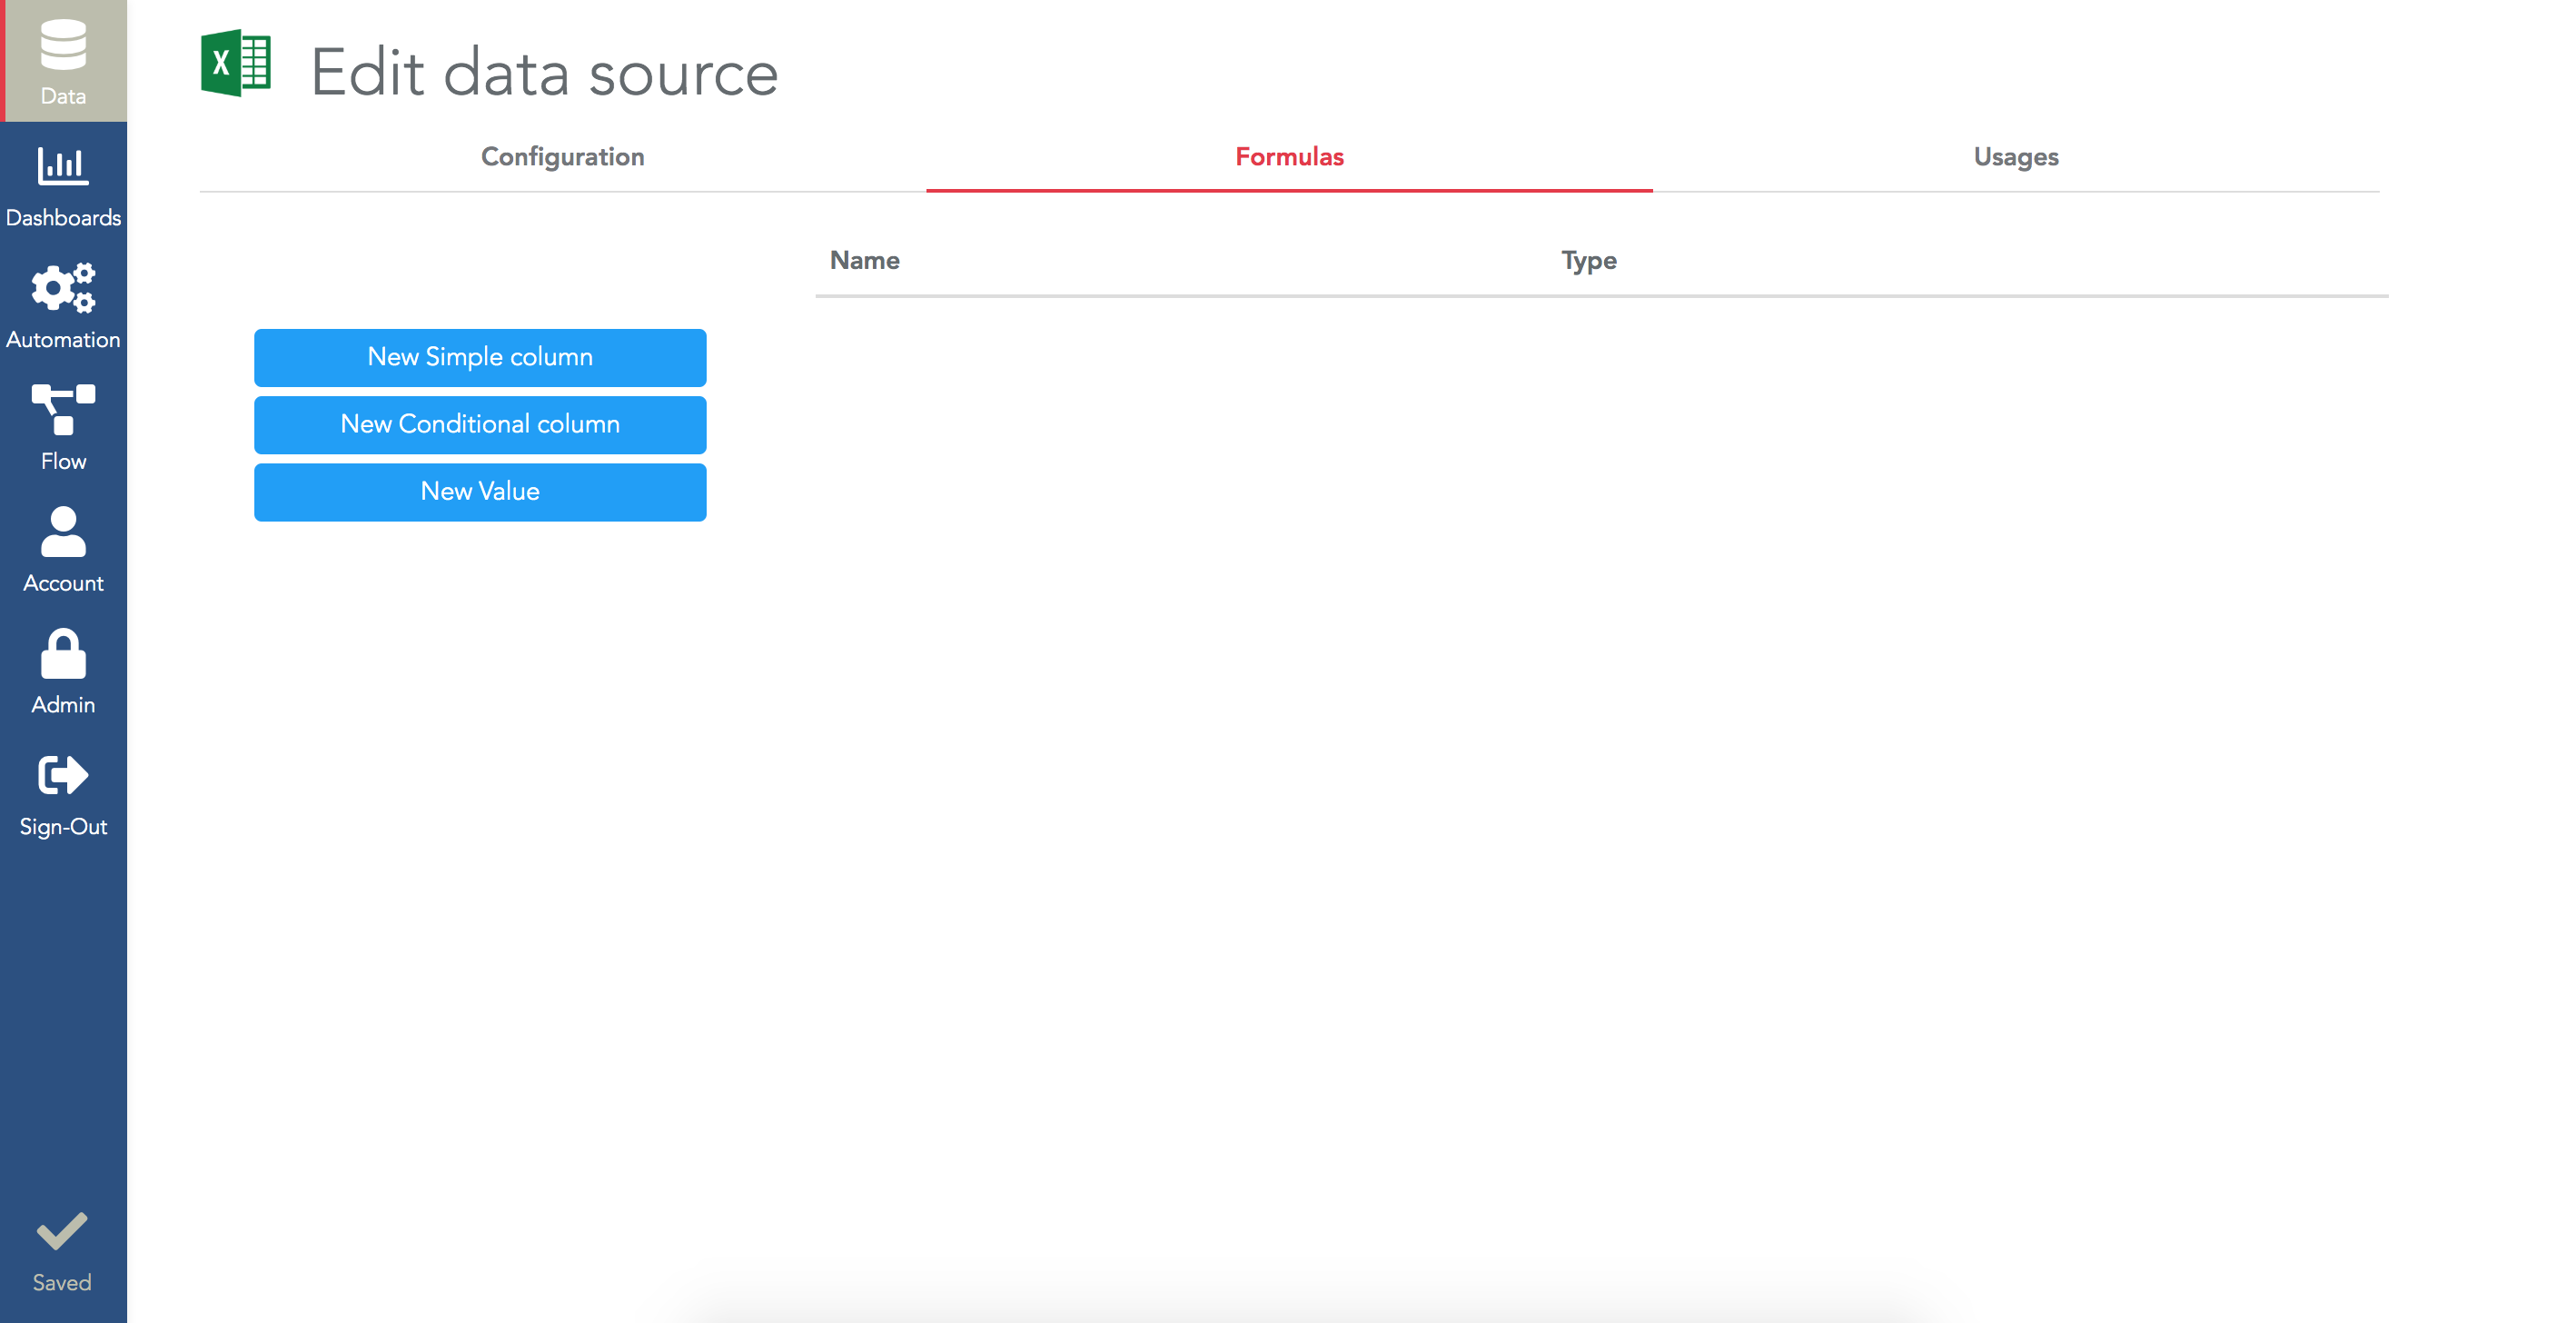
- Simple column: to add a new column to your datasource.
- Conditional column: to add a new column to your datasource based on conditions (if/then/else).
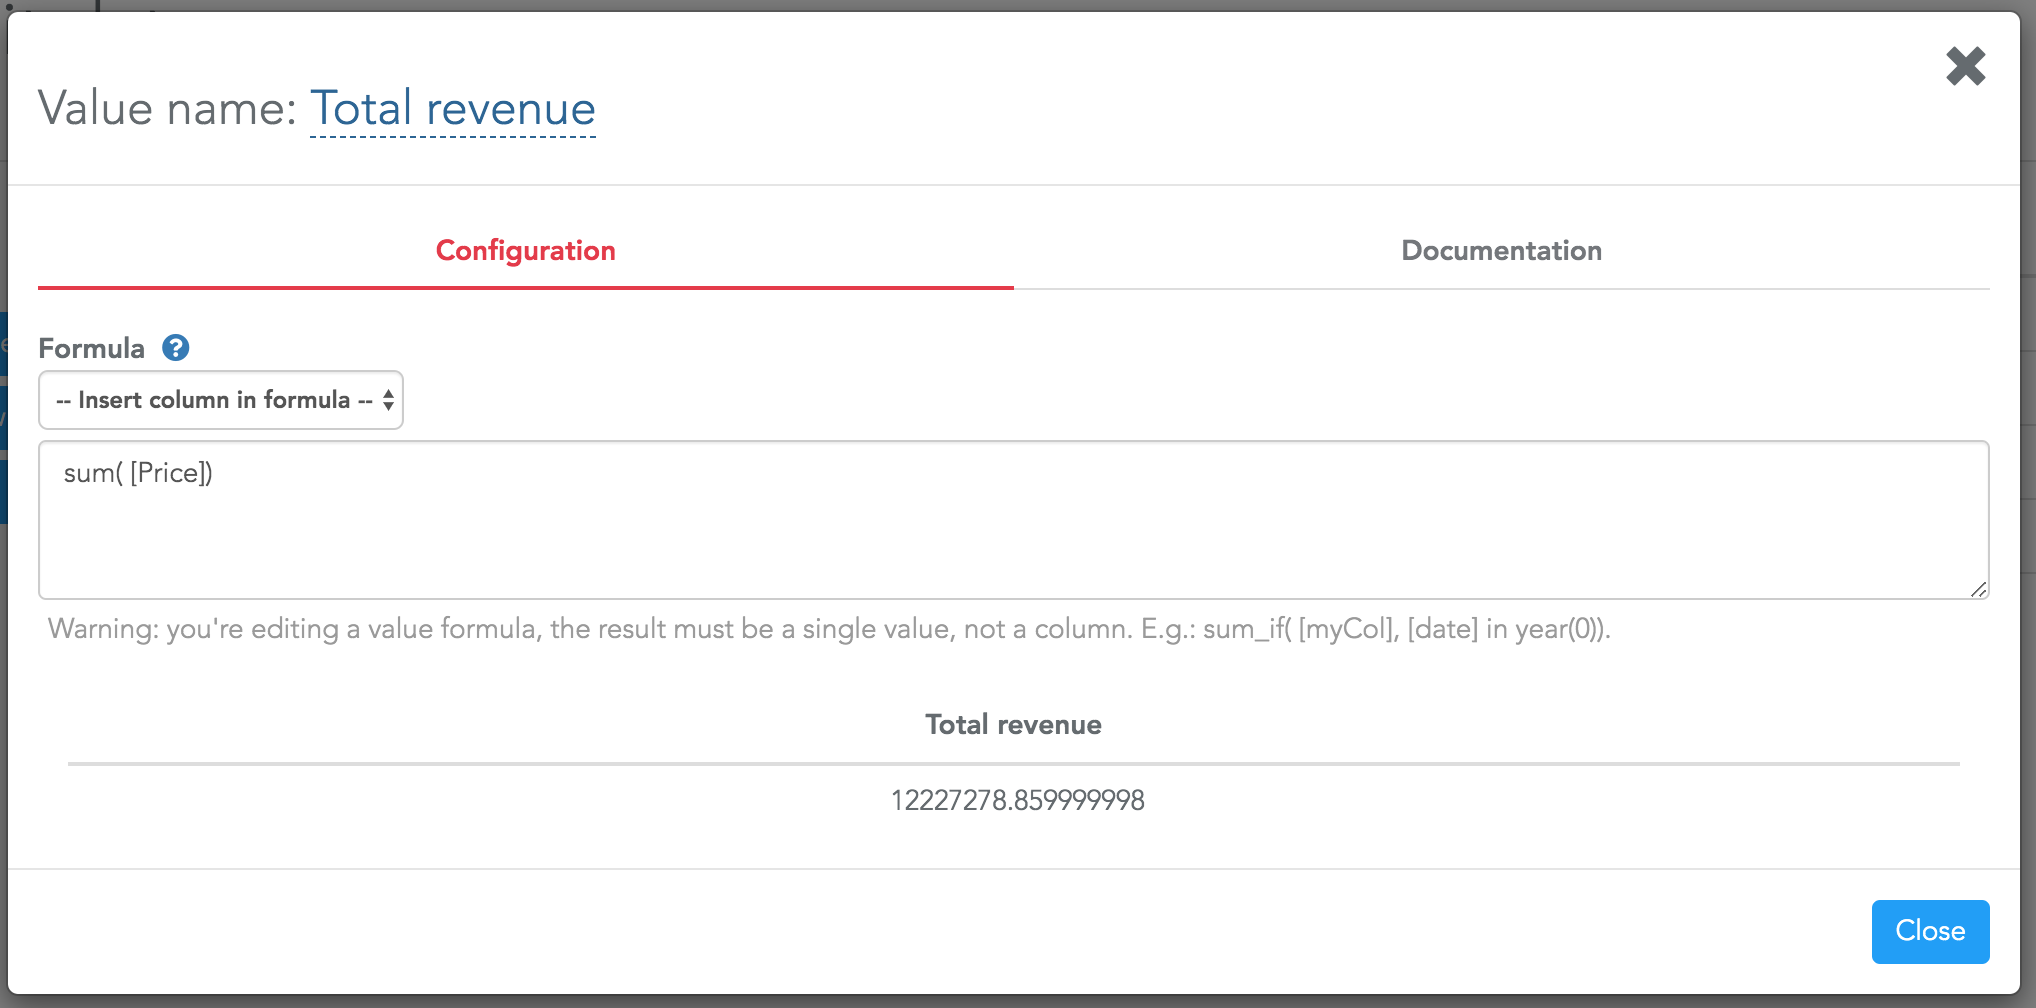
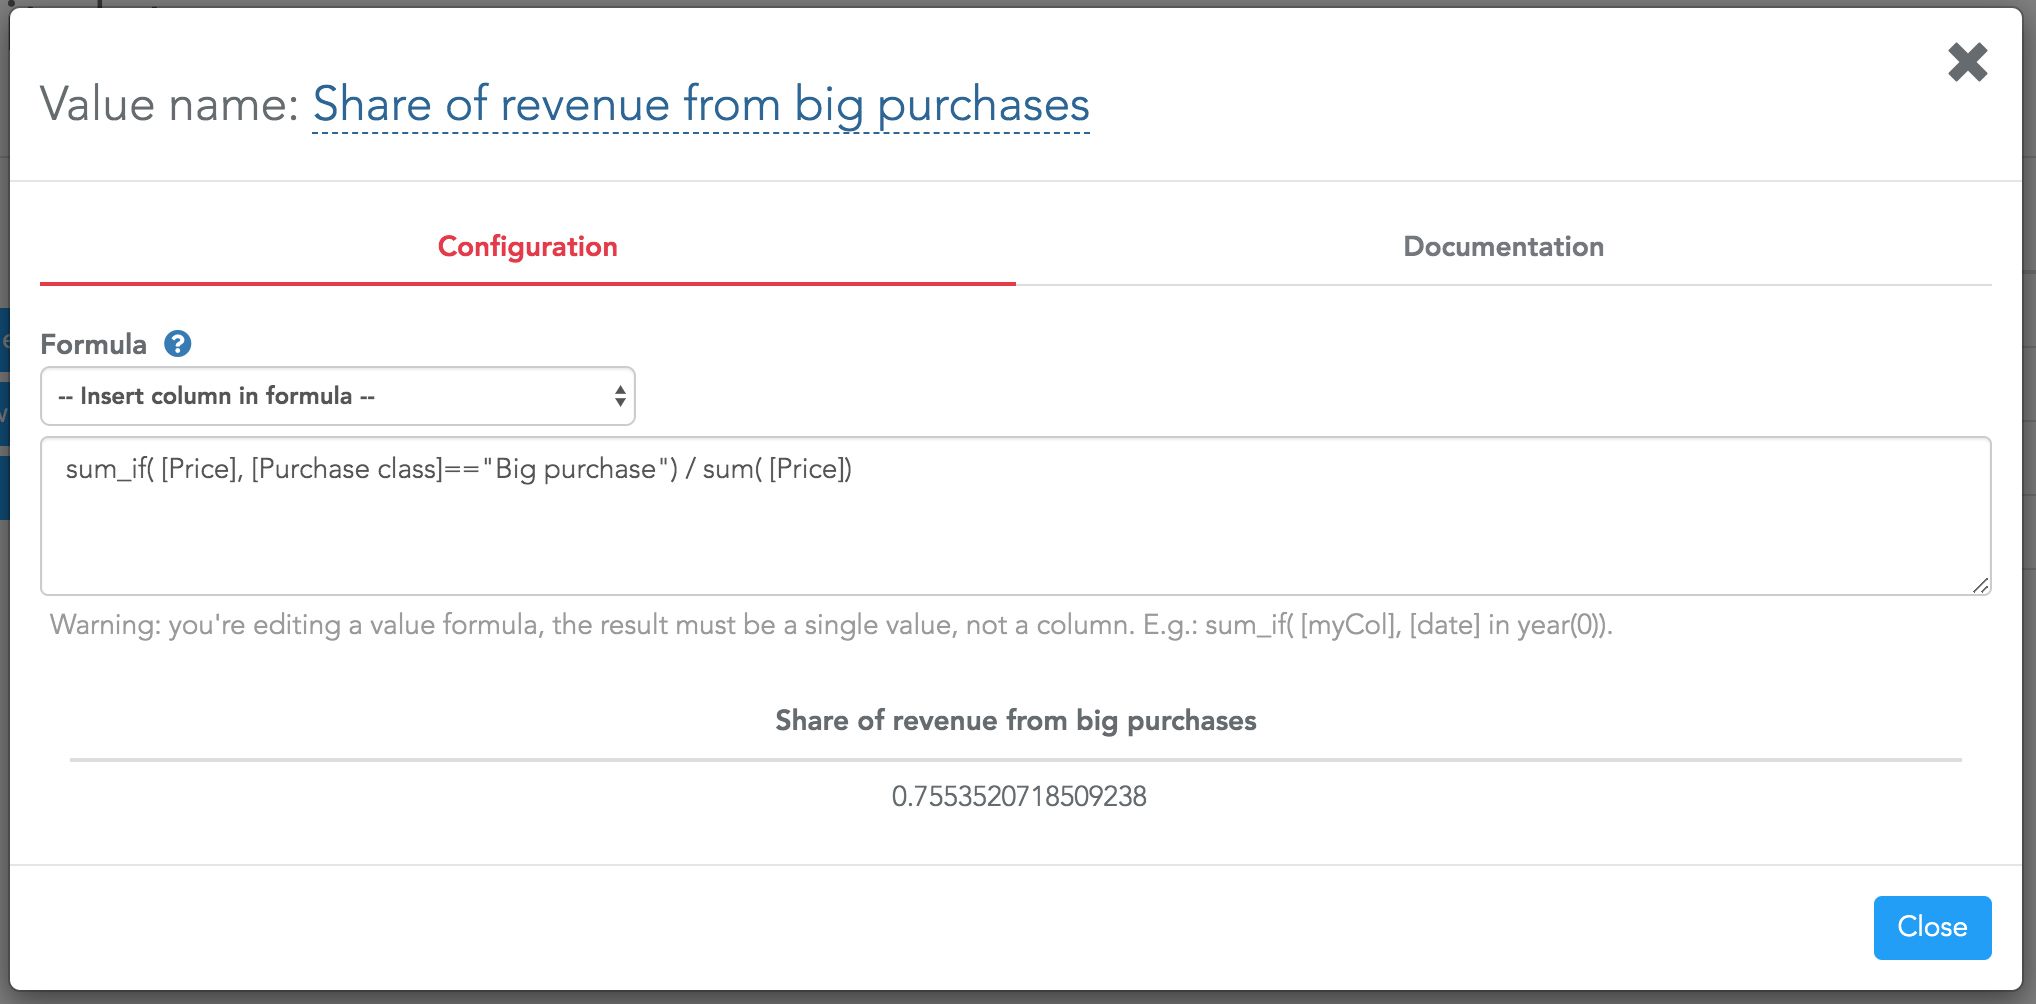
- Value: to compute a new single value (e.g. the sum of all the cells of a column).
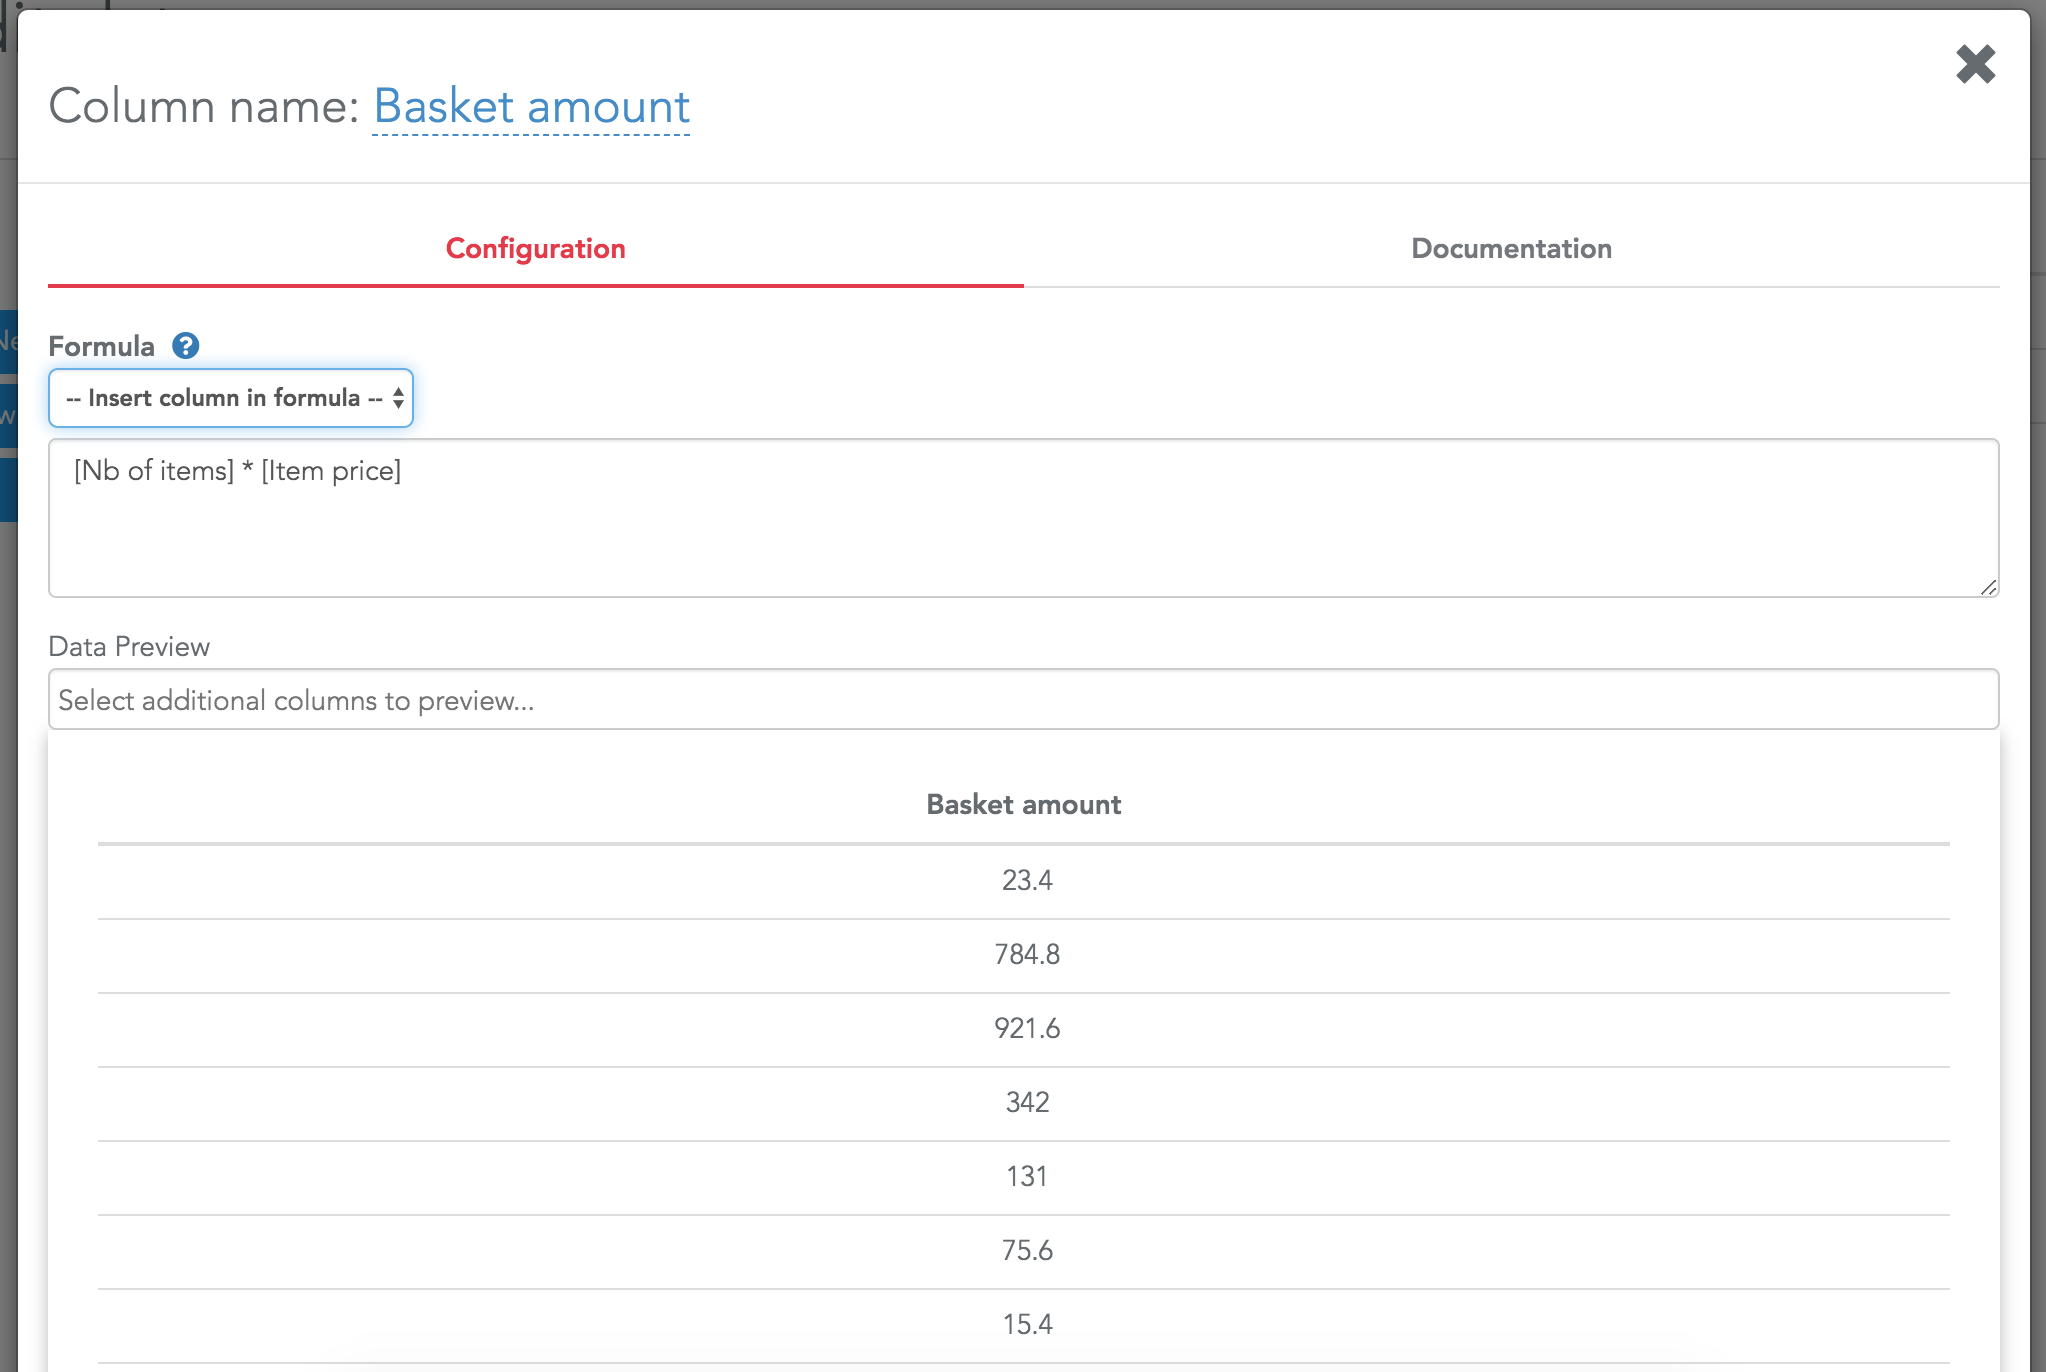
Note that instead of typing the names of your columns, you can select them in the field above the formula editor. That will save you from many typos.
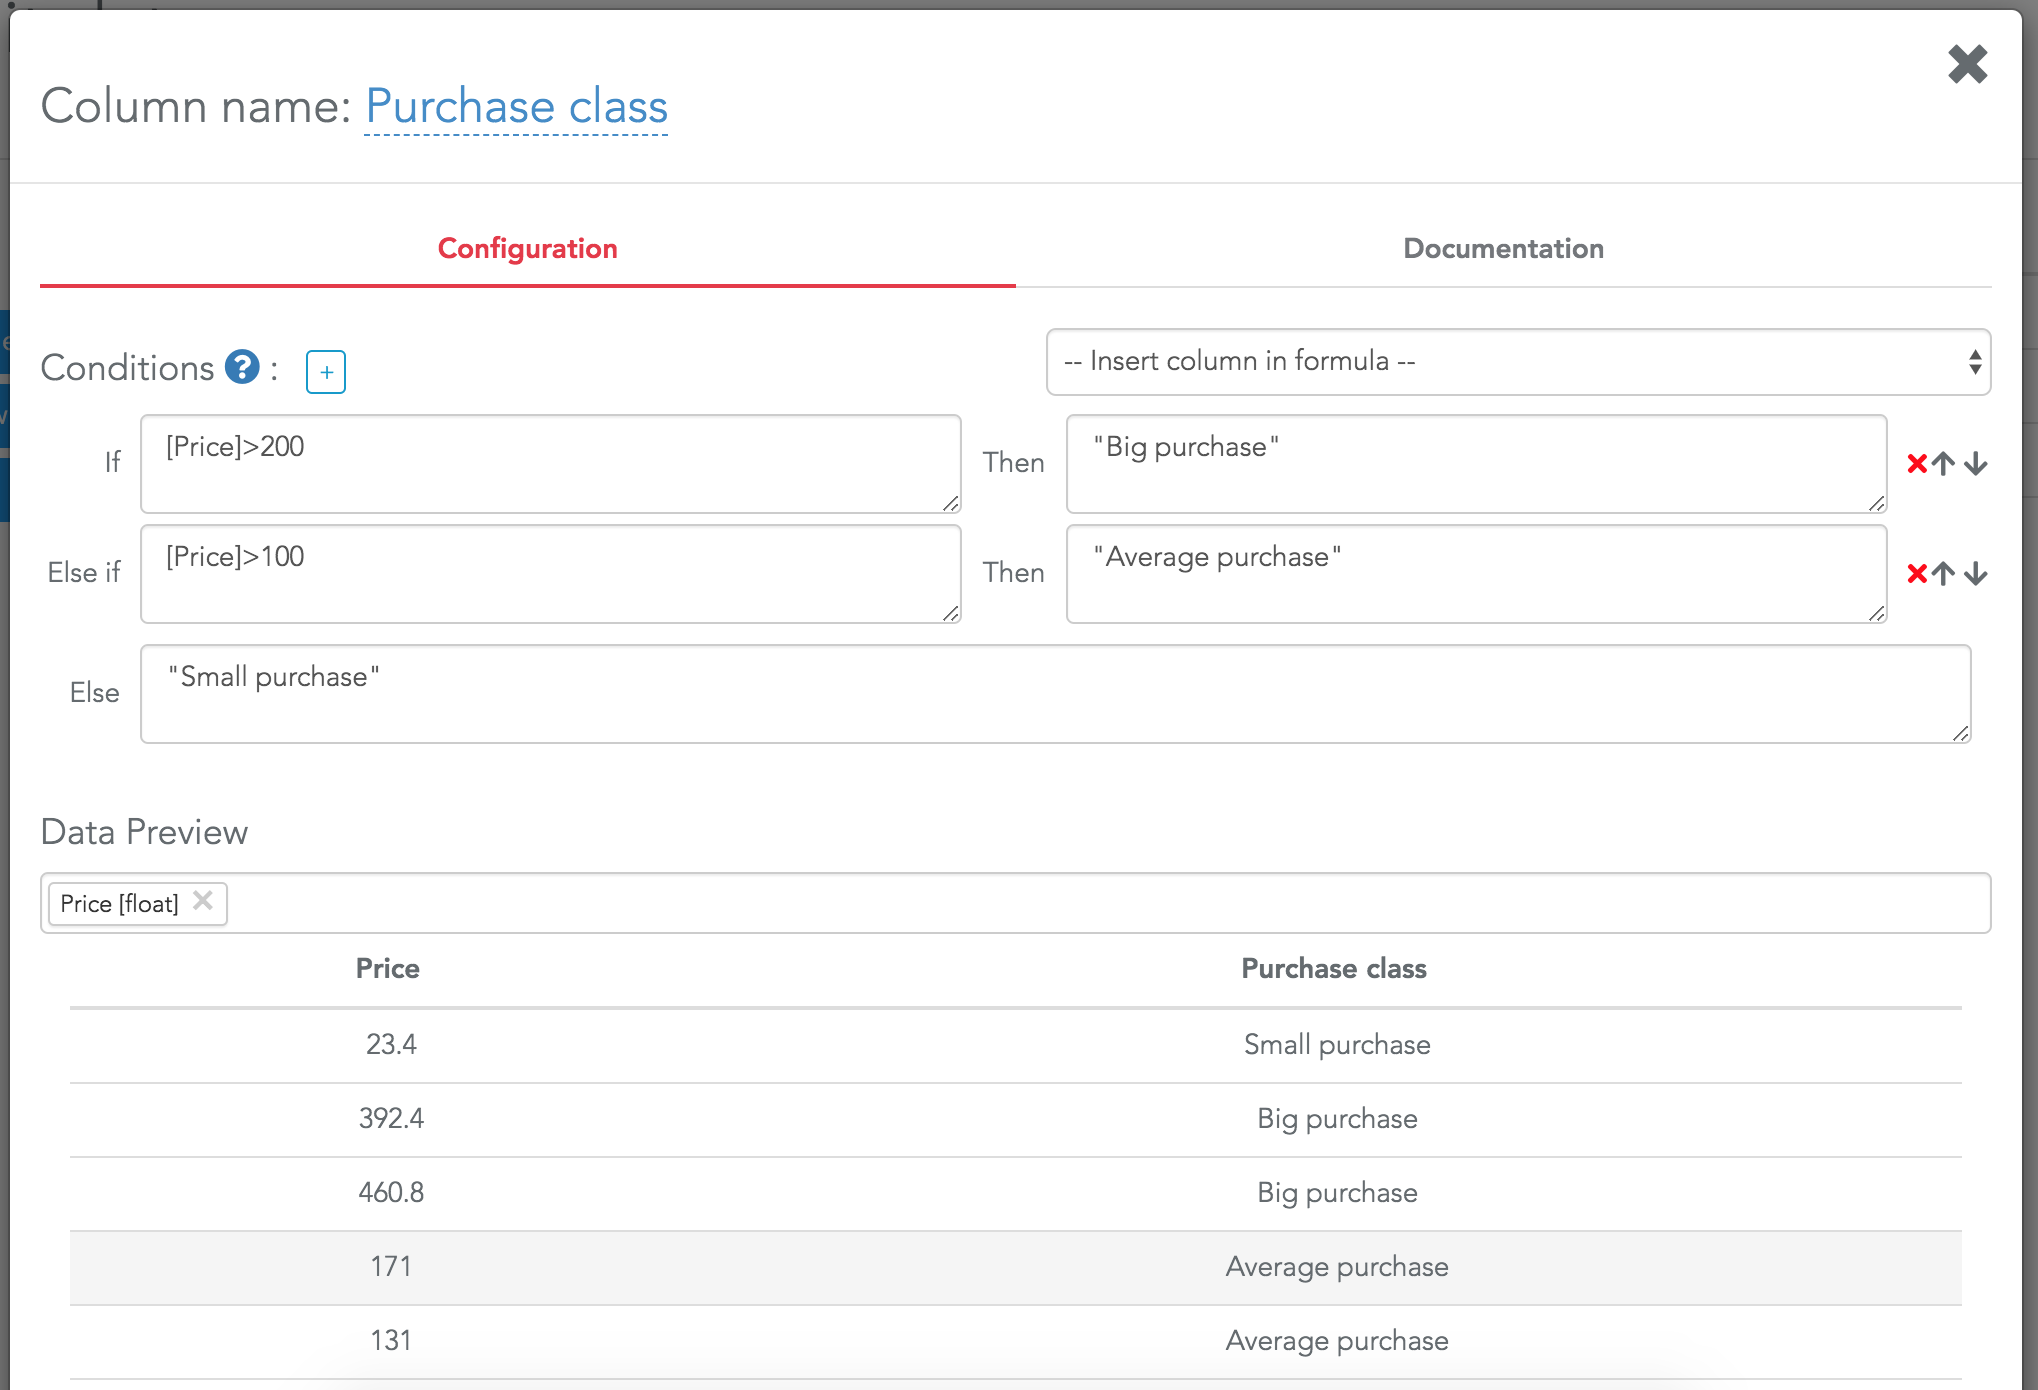
Once you have created a new column, you can use it in your widget, there will be no difference between a column that is in the original dataset and a column computed with a formula.
In a formula, there are a lot of Serenytics functions you can use. For example, if you have a date column, you can use the function "extract_date_part" to extract its weekday (i.e. monday, tuesday...): "extract_data_part([MyDateColumn], "weekday")"
The most common functions are:
- extract_date_part
- substring
- like
- datediff
- rank
Note that any text has to be written between double quotes.
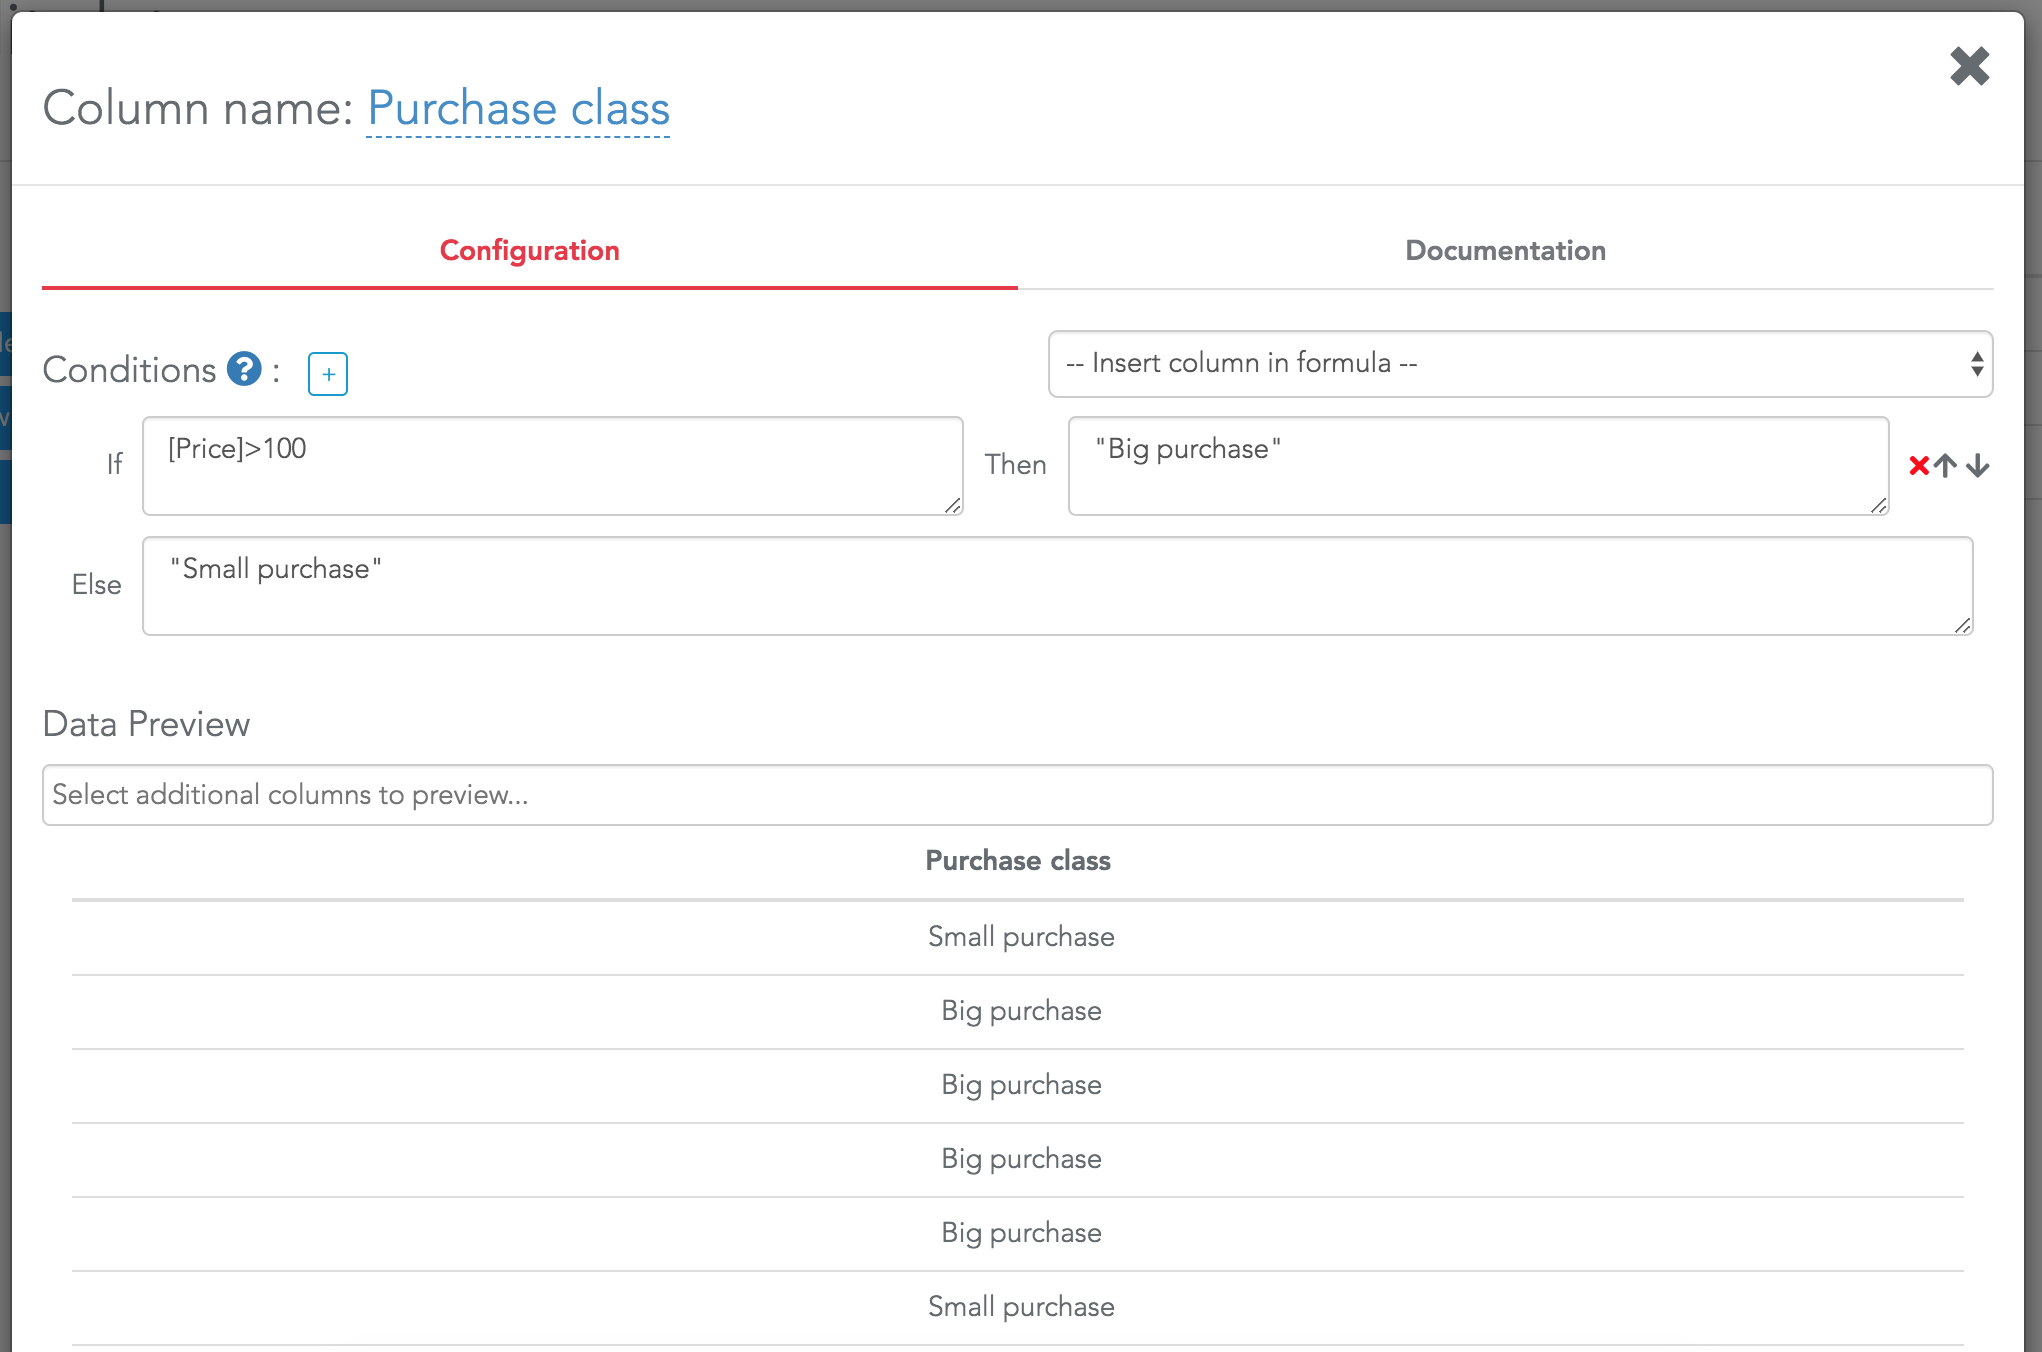
Please keep in mind to name your formula correctly as soon as you create it (the formula above was named "Purchase class").
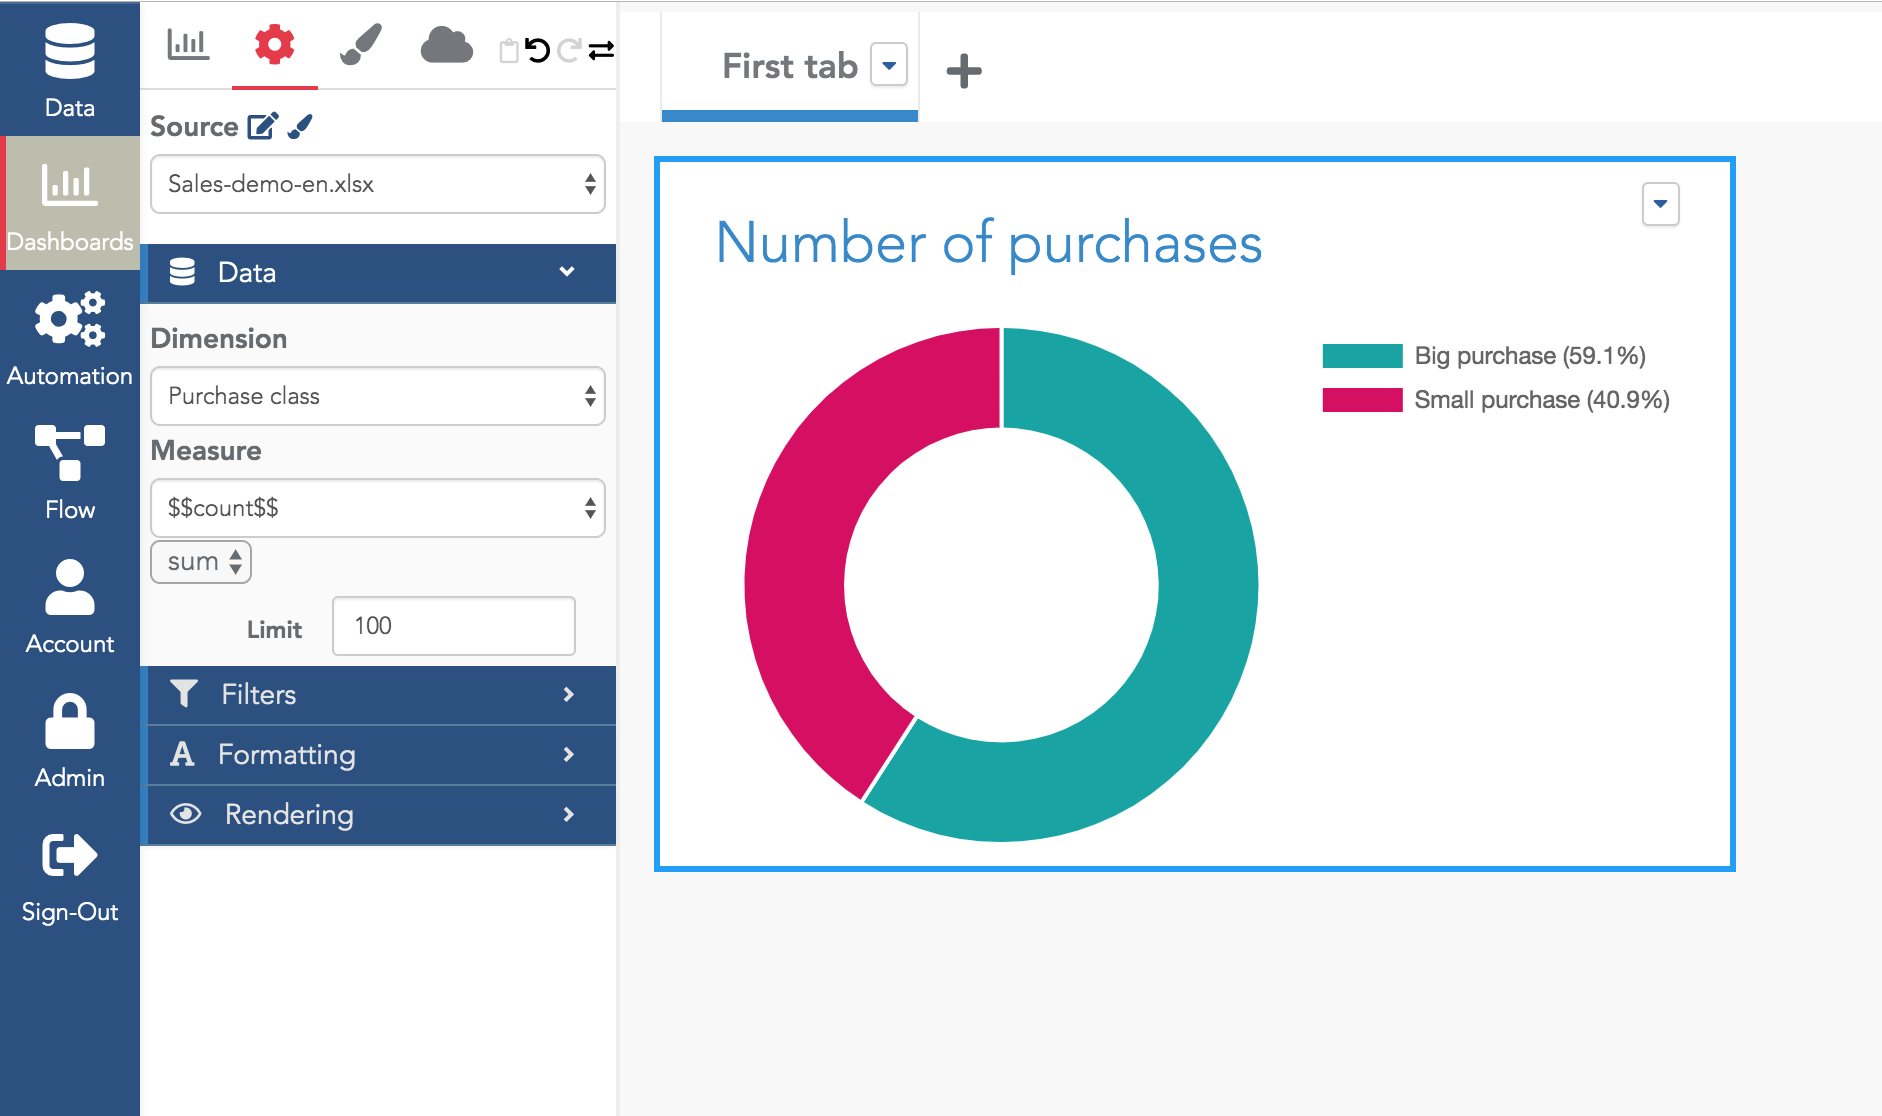
Using this formula in a dashboard is very straightforward. It appears in all the selectors and you can use it as any other column of your data:
To add more condition statements, click on the "+" icon on the right of "Conditions":
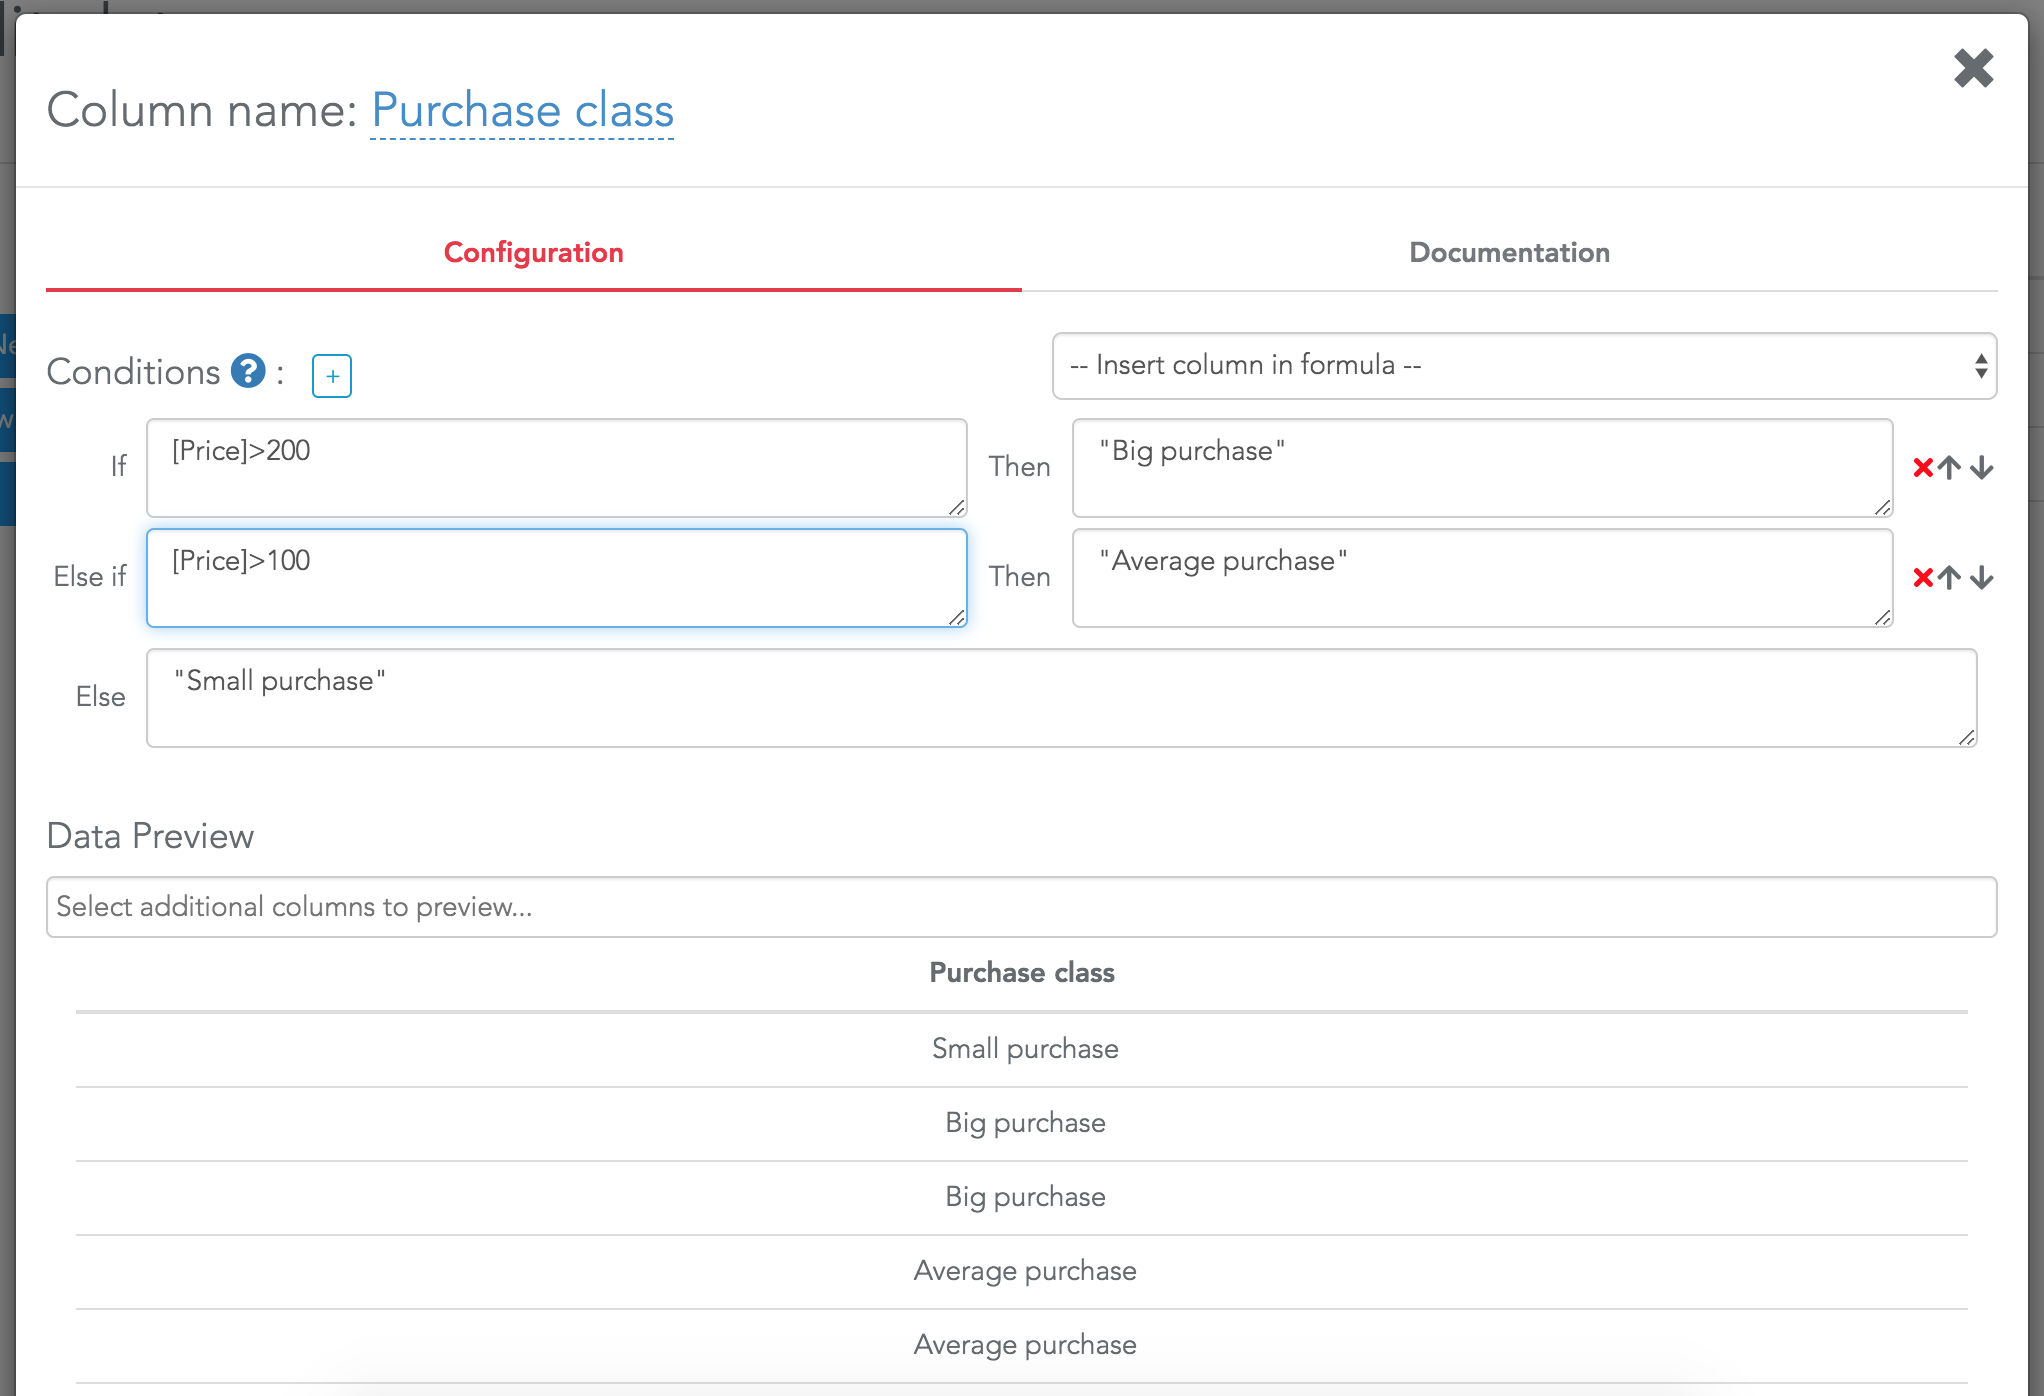
Conditions are tested one after another. If a row validates the first condition, it will receive the value of the then statement of the first condition.
Pay attention that if you write:
- IF "[myColumn] > 100" THEN "class 1"
- ELSE IF "[myColumn] > 200" THEN "class 2"
- ELSE "class 3"
Note that you can change the order of the conditions and delete them using the icons on the right of the "Then" statements.
From this tutorial and our documentation, you can now create a lot of formulas and kpis.
Try to keep in mind these best practices:- Give meaningful names to your formulas. For internal projects, we add "fx-" at the beginning of each formula column, and "fx-kpi-" at the beginning of each value formula.
- If the formula is not trivial, write a few words about it in the documentation tab. So when you open your formula 6 months later, you quickly understand why you did it this way.
- Try to create small and easy to understand formulas and to reuse them inside other formulas instead of writing large and complex formulas.